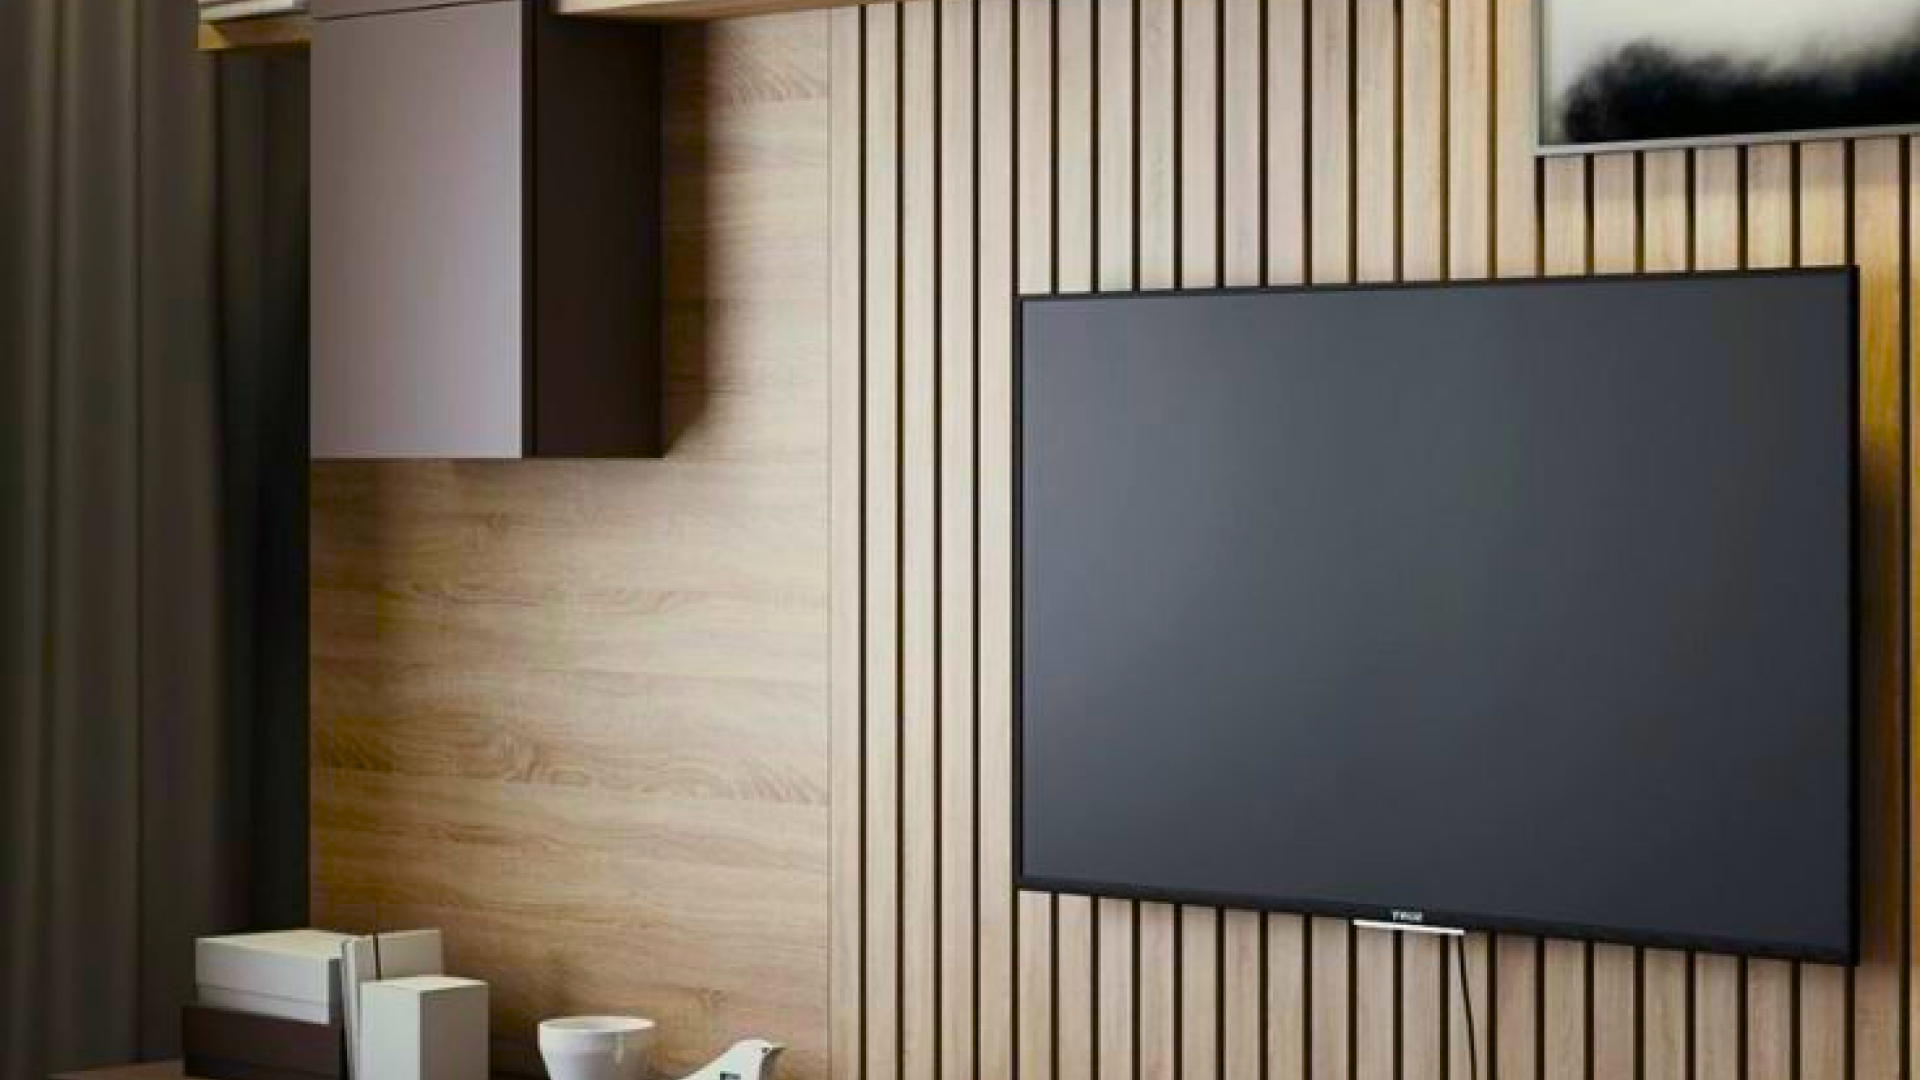
Fluted Panel Mounting Mastery: A Step-by-Step Guide
Fluted panels, with their timeless elegance and visual intrigue, have the power to transform ordinary spaces into architectural wonders. To harness their potential, mastering the art of fluted panel mounting is essential. Whether you’re a seasoned craftsman or a DIY enthusiast, this comprehensive guide will walk you through the step-by-step process of mounting fluted panels, ensuring a flawless result that elevates the aesthetics of your interior or exterior space.
1. Gather Your Tools and Materials:
Before you embark on the mounting journey, gather all the necessary tools and materials. These typically include fluted panels, adhesive, fasteners, a level, measuring tape, saws for cutting panels, sandpaper, and safety gear.
2. Surface Preparation: The Foundation of Success: Fluted Panel Mounting
Ensure the mounting surface is clean, smooth, and dry. Remove any debris, dust, or old adhesive to ensure a secure bond between the panels and the surface. If the surface is uneven, consider using spacers to create a level foundation.
3. Measurement and Layout: Precision Matters:
Measure the mounting area accurately, taking into account the dimensions of the fluted panels. Create a layout plan that outlines the panel placement, ensuring symmetry and uniformity. This plan will serve as your guide throughout the installation.
4. Cutting and Trimming: Crafting Precision:
Depending on your design, you may need to cut or trim fluted panels to fit the installation area. Use the appropriate tools for your panel material, such as saws, routers, or snips. Ensure precise cuts that align with your layout plan.
5. Adhesive Application: Bonding for Durability:
Select a high-quality adhesive suitable for your chosen panel material. Apply the adhesive evenly to the back of each panel, making sure to cover the entire surface. Pay special attention to the edges and corners to prevent panel detachment over time.
6. Panel Placement: Aligning with Precision:
Carefully position each panel according to your layout plan. Use temporary spacers or guides to maintain uniform gaps and ensure accurate alignment. Press the panels firmly against the adhesive to create a secure bond.

7. Securing and Fastening: Ensuring Stability:
For added stability, use fasteners like nails, screws, or clips in conjunction with adhesive. Fasteners should be placed at recommended intervals and locations to prevent panel movement or detachment.
8. Seam Treatment: Creating a Seamless Look:
If your design includes multiple panels, pay special attention to seam treatment. Use matching trim pieces or sealants to create seamless transitions between panels. This enhances the overall appearance and durability of the installation.
9. Panel Finishing: The Final Touch:
Once the panels are in place, inspect them for any imperfections or gaps. Fill any seams, joints, or nail/screw holes with an appropriate filler material. Sand and finish the panels as needed to achieve a smooth and uniform surface.
10. Cleaning and Maintenance: Sustaining Excellence:
Properly clean and maintain your fluted panels to ensure their longevity. Use gentle cleaning solutions and avoid abrasive materials or harsh chemicals that could damage the finish.
11. Professional Assistance: When in Doubt, Consult:
For complex installations or if you’re unsure about any step, consider seeking professional assistance. Experienced installers can provide guidance and expertise to achieve the desired result.
12. Design Creativity: Fluted Panel Mounting
Fluted panel mounting is not just a technical process; it’s an opportunity to bring your design vision to life. Explore different panel orientations, patterns, and colors to create a unique and visually striking space.
Cut the fluted wall panel to your desired length and apply construction adhesive to the back of the panel. Apply the fluted wall to the wall and fasten with a nail gun. Use two nails, one each a the top and bottom of the panels. In between the top and bottom you will need one nail approximately every 1-1/4”.
A fluted panel is usually a piece of wood, glass fibre reinforced gypsum plaster (GRG) or other building material shaped in a regular repeating pattern of a linear or vertical design. The panel can vary in size depending on the application and material it is made from.
Start with a nail in the centre of the panel after positioning it. This should hold it in place, allowing you to then add more nails without holding it in place. You can also use adhesive glue, but it is less instant as you have to leave it to dry, and you have to be careful to get it right.
They are often used on walls, ceilings, and floors in both commercial and residential settings. Concave fluted panels have a curved inward surface. This type of panel is typically used for decorative purposes, such as on coffered ceilings or as an accent on a wall.
Fluted panel mounting is an art that combines precision, creativity, and craftsmanship. By following these step-by-step instructions, you can embark on your journey to transform spaces with elegance and sophistication. Fluted panels not only enhance aesthetics but also offer a lasting impression of quality and attention to detail. As you explore the world of fluted panel design and mounting, remember that every project is an opportunity to express your unique vision and elevate the spaces we inhabit.


